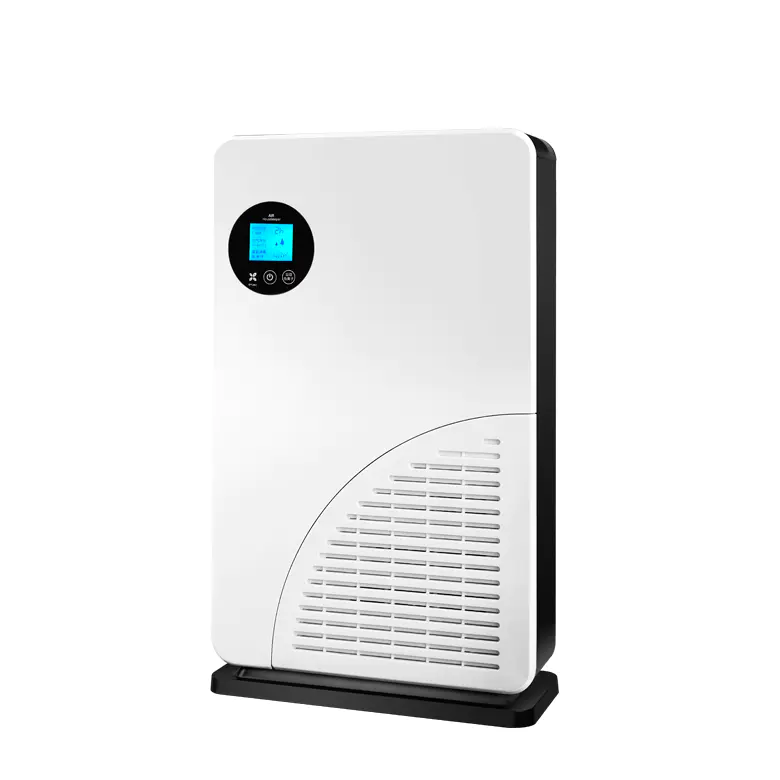
This instruction shows you how to make an air purifier to filter contaminants such as tobacco smoke, welding smoke and many other organic materials from the air you breathe.
If you have enough Modeler plywood, you can make the frame with plywood Basswood of computer fan activated carbon glue window screen pantyhose modeler or balsa 12 volt AC/DC converter, but to save money, I chose to stick my frame with some of my balsa wood.
I have everything except activated carbon, you can buy it at the pet shop, already in my house.
The principle of the purifier is to breathe in the air through carbon and discharge it through the top.
The following figure is a section view.
Carbon surrounds the purifier on four walls with fans on top.
The large surface area allows the air to pass slowly so that the air can be cleaned better.
This part is crucial because it is the reason to prevent the filter from falling off, so do a good job of cutting and bonding.
For the edge of the wall, I used the balsa bar of 1/4x1/4 inch.
To support the middle, I used the balsa bar of 1/8x1/4 inch.
Next, make 4 inner and outer walls.
In order to get extra support, you may need to cut some paper with small squares to stick in the corner.
After the wall is dry, place the window screen on wax paper.
Apply a thin layer of glue on one side of each wall and place it on the window screen.
Wax paper prevents the glue from sticking to the table and the glue goes through the screen.
After the glue is dry, cut each wall off the window screen.
Next, cut a 45 degree angle on both sides of the wall so that the four exterior walls and four interior walls can be connected to each other.
Make sure the window screen is outside the square.
Finally, you should have two squares, Four Walls covered and two left openings (
For the top and bottom of the filter).
Now that you 've made two frames, you can put everything together.
But before you do, make sure you slide the pantyhose on both frames.
This will keep the smaller carbon levels from falling off.
Now stick the bottom of the filter to it.
Clean carbon while drying.
A small amount of dust will fall off during transportation.
Clean it by putting it in the colander and cleaning it through it.
Let it dry and pour into the filter.
Next, once it's full, stick the top to it.
Note: The small hole at the top is used to add or remove activated carbon after the top is bonded.
I just put the tape on it to prevent the carbon from falling off. If everything is done correctly, the fan should fit perfectly with the remaining holes at the top of the filter.
Stick the fan in place and now you have a full air filter.
The white tube at the top of the filter helps to spread the filtered air around the room.
All you have to do to make it is tie a paper tube that can be placed on the fan together.
The top is made by cutting the vertical slit in the tube and overlapping it so that the paper is folded at the top and deflected the air into the room.
To turn it on, you will need to weld two computer fan leads to a 12 V power supply.
If everything is OK, it will be very difficult to hear it run.
Finally, it's simple if you want the filter to smell in the room.
Put your favorite liquid scent in a thin medicine bottle and stick it to the center of the fan with tape.
When the air from the fan passes through the medicine bottle, it pulls the fragrance out of the medicine bottle and enters the air.
Now, the only problem with the filter is that there is a slight carbon smell in the air emitted, and I don't know how to remove that smell.
Since the fan cannot produce a lot of pressure, it will be difficult to force the air through another filter.
Please feel free to email me if you have an idea.